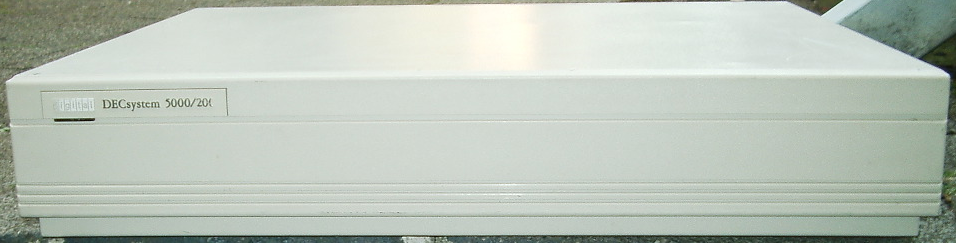
Todays exercise we are going to concentrate on the MIPS architecture, particularly on the DECstation 5000/200
 If we have no access to the actual hardware, we will use the excellent machine emulator called GXemul which runs quite well (after some tweaks on a modern Linux machine)
GXemul is available here http://gxemul.sourceforge.net/src/gxemul-0.6.0.1.tar.gz
wget "http://gxemul.sourceforge.net/src/gxemul-0.6.0.1.tar.gz"
When compiling on Linux via a modern GCC please bear in mind that the emulator wont work correctly if compiled with -O optimization flags. Please use -debug configure option to disable such optimization
$ ./configure --debug
I was building GXemul on Mint 18.2, and had to change the generated Makefile as such in order to build the -X framebuffer support : Edit the GXemul Makefile as such :
XINCLUDE=-I/usr/include/X11
XLIB=-L/usr/include/X11 -lX11
Now you can build the emulator via a standard make command.
$ make
Once we have the emulator compiled, lets get the ULTRIX system
Download ultrix-Ultrix-RISC-4.5.img.gz
 https://drop.me/omp0kBt
Gunzip and place to your working directory
Read the howto on http://gxemul.sourceforge.net/gxemul-stable/doc/guestoses.html#ultrixinstall
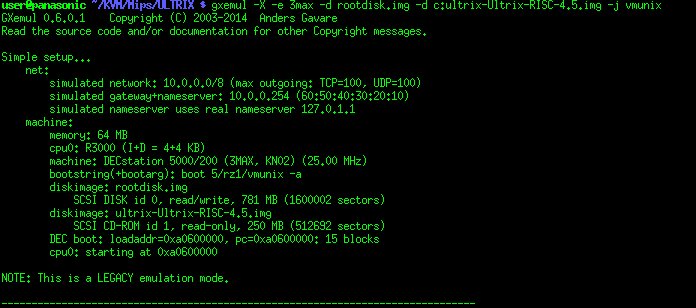
On my Panasonic CF-53 screen is 1366×768 and the GXemul
machine: DECstation 5000/200 (3MAX, KN02) (25.00 MHz) X framebuffer is
1024x864x8 so we need to do this
xrandr --output LVDS1 --rate 60 --mode 1366x768 --fb 1366x1024 --panning 1366x1024
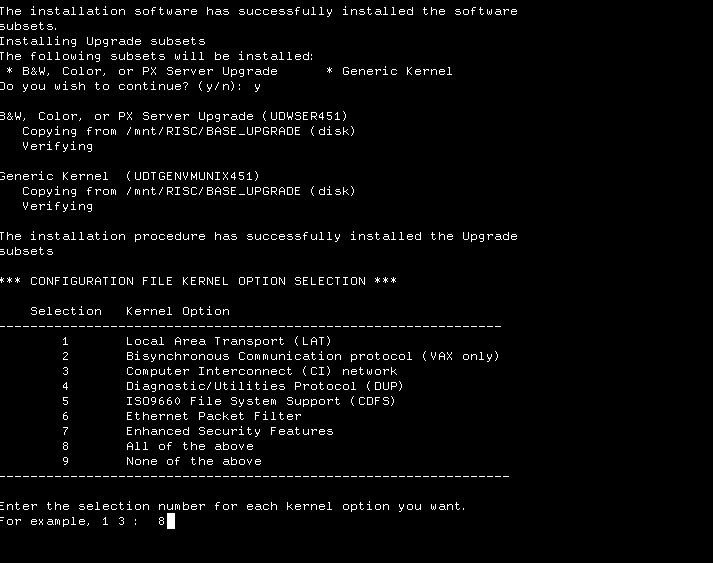
The installation is pretty straight forward – create an empty disk
dd if=/dev/zero of=rootdisk.img bs=1024 count=1 seek=800000
Run the first stage of install according to http://gxemul.sourceforge.net/gxemul-stable/doc/guestoses.html#ultrixinstall
gxemul -X -e 3max -d rootdisk.img -d bc:/path/to/ultrix-Ultrix-RISC-4.5.img -j vmunix
Run the second stage install
gxemul -X -e 3max -d rootdisk.img -d c:/path/to/ultrix-Ultrix-RISC-4.5.img -j vmunix
Boot the final disk image (2x)
gxemul -X -e 3max -d rootdisk.img -j vmunix (2x)
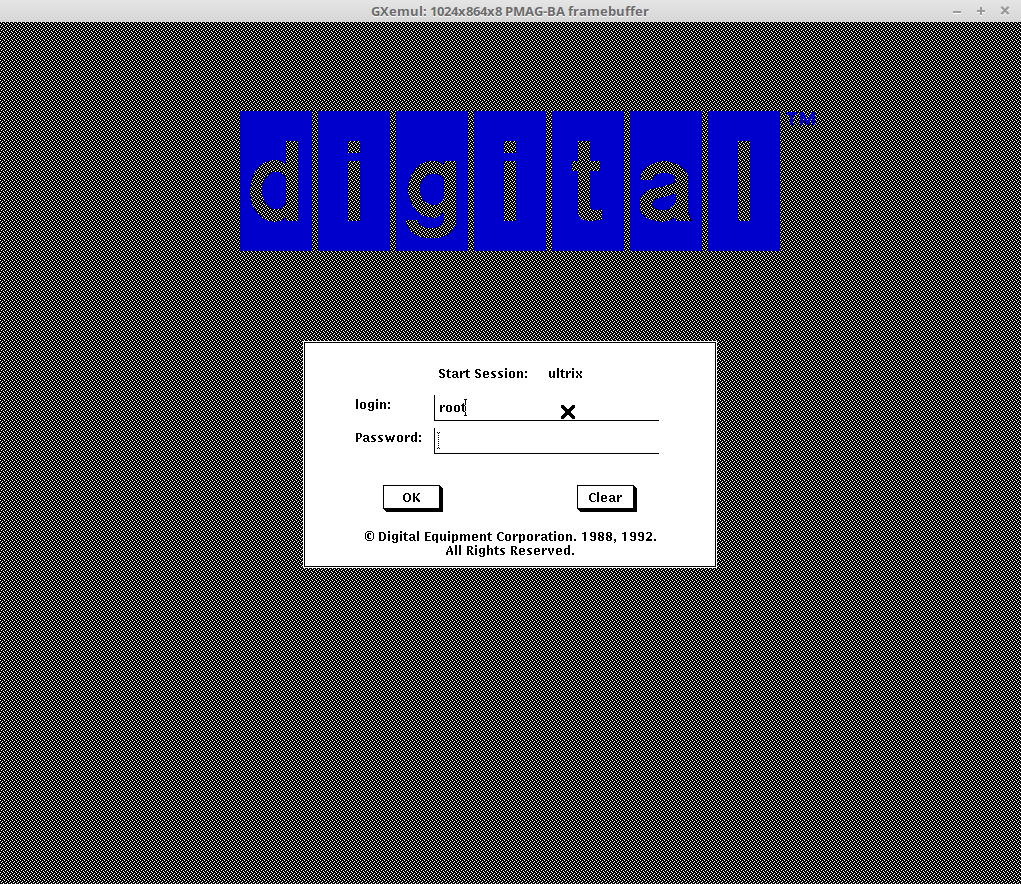
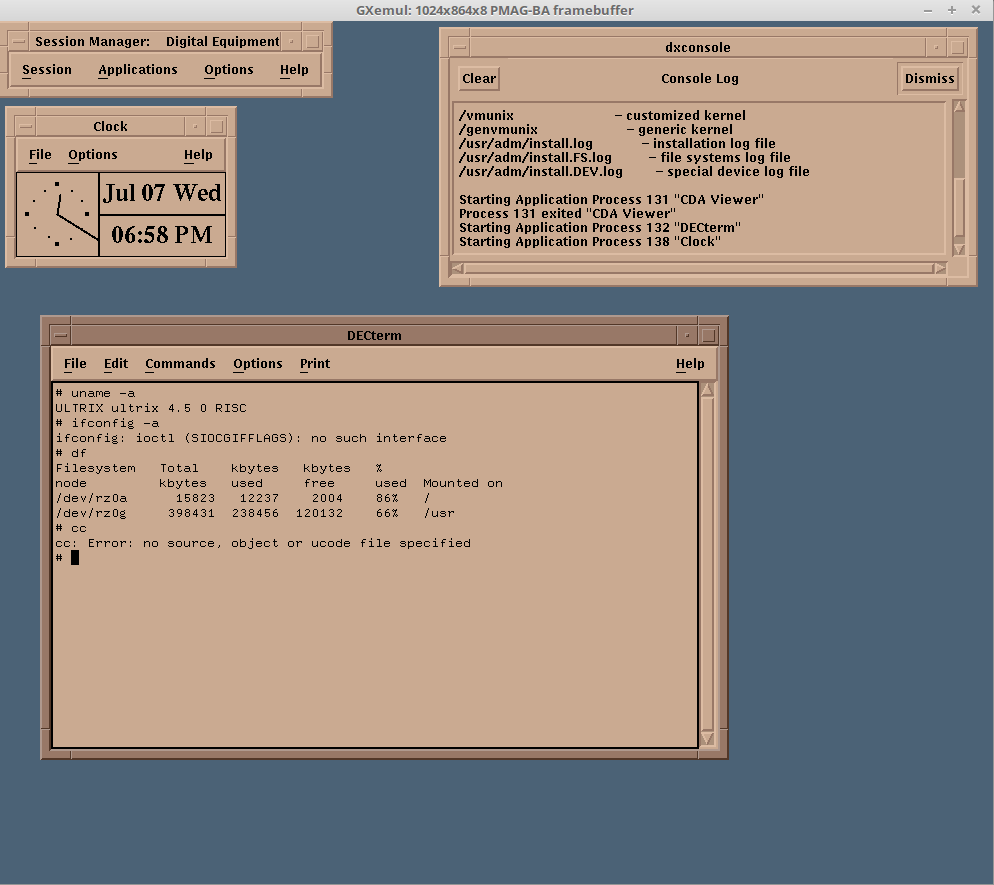
Happy hacking :)

A noobie question: where do you place the XINCLUDE=-I/usr/include/X11
XLIB=-L/usr/include/X11 -lX11 lines in the generated makefile?
Search for XINCLUDE and XLIB in the makefile and set accordingly it the first lines of Makefile in the gxemul root dir.
#
# DO NOT EDIT THIS FILE! It is automagically created by
# the configure script, based on Makefile.skel.
#
XINCLUDE=-I/usr/X11R6/include
XLIB=-L/usr/X11R6/lib -lX11
CWARNINGS=-Wshadow -Wnon-virtual-dtor -Wstrict-aliasing -Wall -Wextra -Wno-unused-parameter
COPTIM=-g -fno-rtti -fstrict-aliasing -fomit-frame-pointer -fpeephole -O3 -DNDEBUG
INCLUDE=-Iinclude/
Look at the start of the Makefile and change accordingly
#
# DO NOT EDIT THIS FILE! It is automagically created by
# the configure script, based on Makefile.skel.
#
XINCLUDE=-I/usr/X11R6/include
XLIB=-L/usr/X11R6/lib -lX11
CWARNINGS=-Wshadow -Wnon-virtual-dtor -Wstrict-aliasing -Wall -Wextra -Wno-unused-parameter
COPTIM=-g -fno-rtti -fstrict-aliasing -fomit-frame-pointer -fpeephole -O3 -DNDEBUG
INCLUDE=-Iinclude/